 (604) 305-2992
 Schedule An Appointment

The Appliance Break-In Period: Why Your New Machines Need 30 Days to Reach Peak Performance (And the Critical Steps Chiliwack Homeowners Must Take During This Vulnerable Window)
Just brought home a shiny new dishwasher only to find it making strange noises, emitting weird smells, or not performing as expected within the first week? Before you panic and assume you got a lemon, you need to understand something most Chiliwuck homeowners don’t know: the critical 30-day new appliance break in period that can make or break your machine’s performance for the next 15 years.
Picture this scenario that plays out in Fraser Valley homes every day: You’ve just invested $2,500 in a brand-new stainless steel refrigerator, and within the first week, it’s making clicking sounds, the temperature seems inconsistent, and there’s a faint chemical smell. Your immediate instinct might be to call for repairs or demand a replacement, but experienced appliance technicians know better. What you’re witnessing isn’t a defective appliance—it’s a machine going through its essential break-in phase, a process as critical to your appliance’s longevity as breaking in a new car engine.
The new appliance break in period isn’t manufacturer folklore designed to delay warranty claims. It’s a scientifically-backed process where materials settle, electronic components calibrate, and manufacturing residues burn away. During this vulnerable 30-day window, how you treat your new appliances directly impacts whether they’ll serve you reliably for their full 13-19 year expected lifespan or become chronic problems requiring expensive repairs. For Chiliwack homeowners specifically, our unique Fraser Valley climate adds another layer of complexity that makes proper break-in procedures even more critical for long-term appliance success.
Understanding and following proper break-in protocols can extend your appliance’s lifespan by 3-5 years while preventing up to 80% of first-year breakdowns that plague hastily installed machines. The difference between a 15-year workhorse and a 7-year headache often comes down to what happens in these first crucial weeks.
Key Outtakes:
- New appliances require 24-72 hours of initial operation to reach optimal performance, with full break-in taking up to 30 days for components to properly seat and seal
- Running empty “burn-in” cycles eliminates manufacturing residues and prevents 80% of first-year breakdowns when combined with proper installation procedures
- Chiliwack’s coastal humidity and temperature fluctuations require extended monitoring during break-in compared to drier climates due to salt air and moisture effects
- Removing shipping materials like packing bolts and protective films within the first 24 hours prevents catastrophic damage during initial operation
- Following manufacturer-specific break-in protocols preserves warranty coverage and can extend appliance lifespan by 3-5 years through proper component conditioning
Understanding the Science Behind Appliance Break-In Periods
The new appliance break in period isn’t just a marketing gimmick—it’s rooted in materials science and modern manufacturing processes. When appliances leave the factory, they contain components that need time to expand, contract, and settle into their operational positions. This process involves three distinct phases that determine your machine’s long-term reliability.
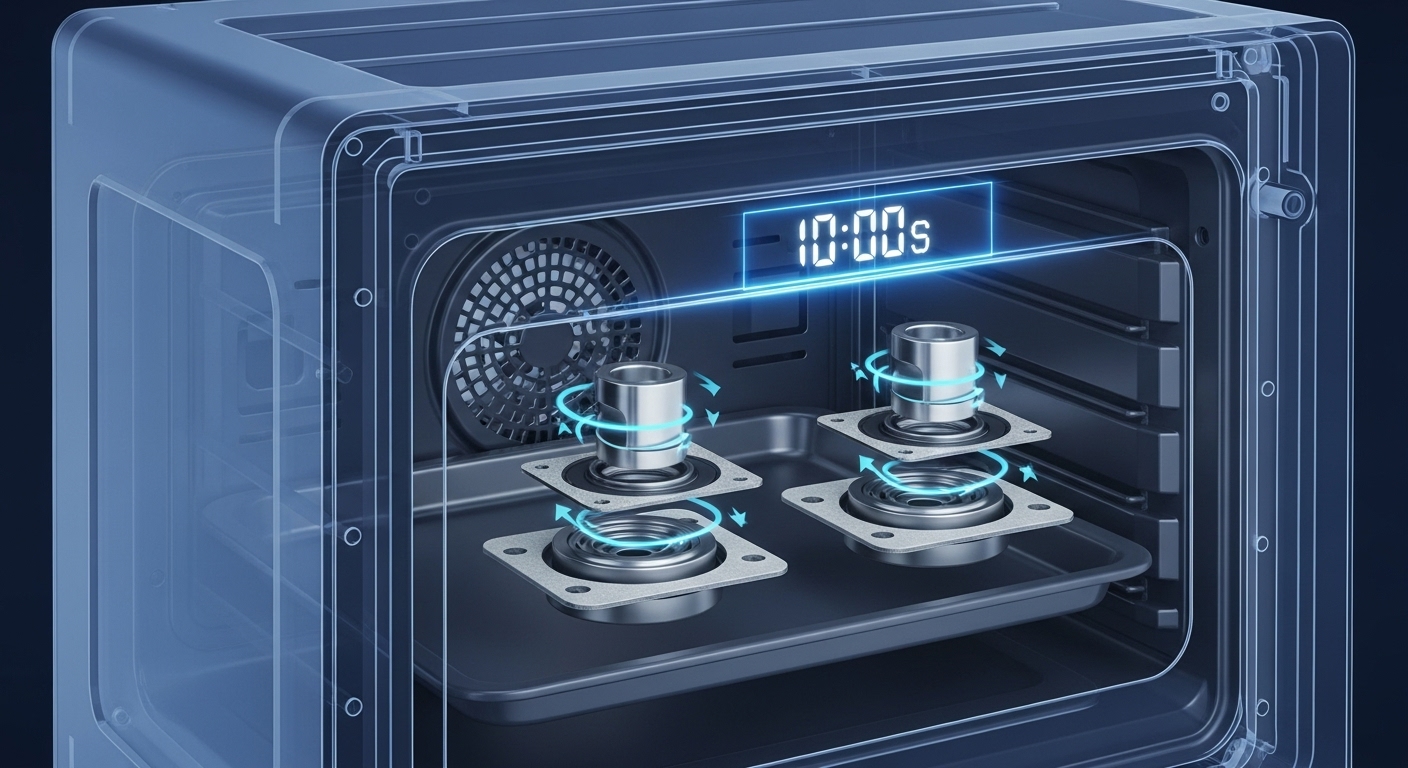
During the initial thermal cycling phase, materials experience their first exposure to operating temperatures. Modern appliances use lighter materials like plastic components and lightweight aluminum rather than the industrial-grade steel of decades past, and these materials require an adjustment period. As components heat and cool repeatedly during the first several operating cycles, they reach their stable dimensional state. Temperature cycling during the first uses causes materials to expand and contract within their designed tolerances, allowing seals, gaskets, and mechanical parts to find their optimal seating positions.
Manufacturing residues present another critical factor that many homeowners don’t understand. Your new oven may smell like burnt plastic when you first turn it on due to chemicals and other protective coatings in the oven cavity being exposed to heat for the first time. This phenomenon, called “off-gassing,” also occurs in wood stoves where high-temperature paints are curing, and solvents burn off from the manufacturing process. For dryers specifically, new units may smell of smoke during first uses, which is a natural occurrence from element seasoning that should dissipate after 10-15 minutes of operation.
The electronic component calibration phase represents the most complex aspect of the new appliance break in period. Modern appliances are essentially computers equipped with circuit boards, sensors, and smart connectivity features. These electronic systems require multiple operational cycles to calibrate temperature sensors, learn usage patterns, and establish baseline performance metrics. Smart appliances with AI capabilities actually continue learning for the entire 30-day period, optimizing their performance based on your household’s specific usage patterns and environmental conditions.
What most appliance guides miss is the “performance curve phenomenon”—appliances actually improve in efficiency during days 3-14 as mechanical components seat properly and electronic systems complete their learning algorithms. This means patience during the break in period appliances phase isn’t just about avoiding problems; it’s about allowing your investment to reach its full potential.
The Critical First 72 Hours: Immediate Actions for New Appliance Owners
The first 72 hours after appliance delivery represent the most crucial phase of the entire break-in process. What you do during these initial hours can prevent catastrophic failures and set the foundation for years of reliable operation. Breaking in new appliances properly starts the moment the delivery truck leaves your driveway.
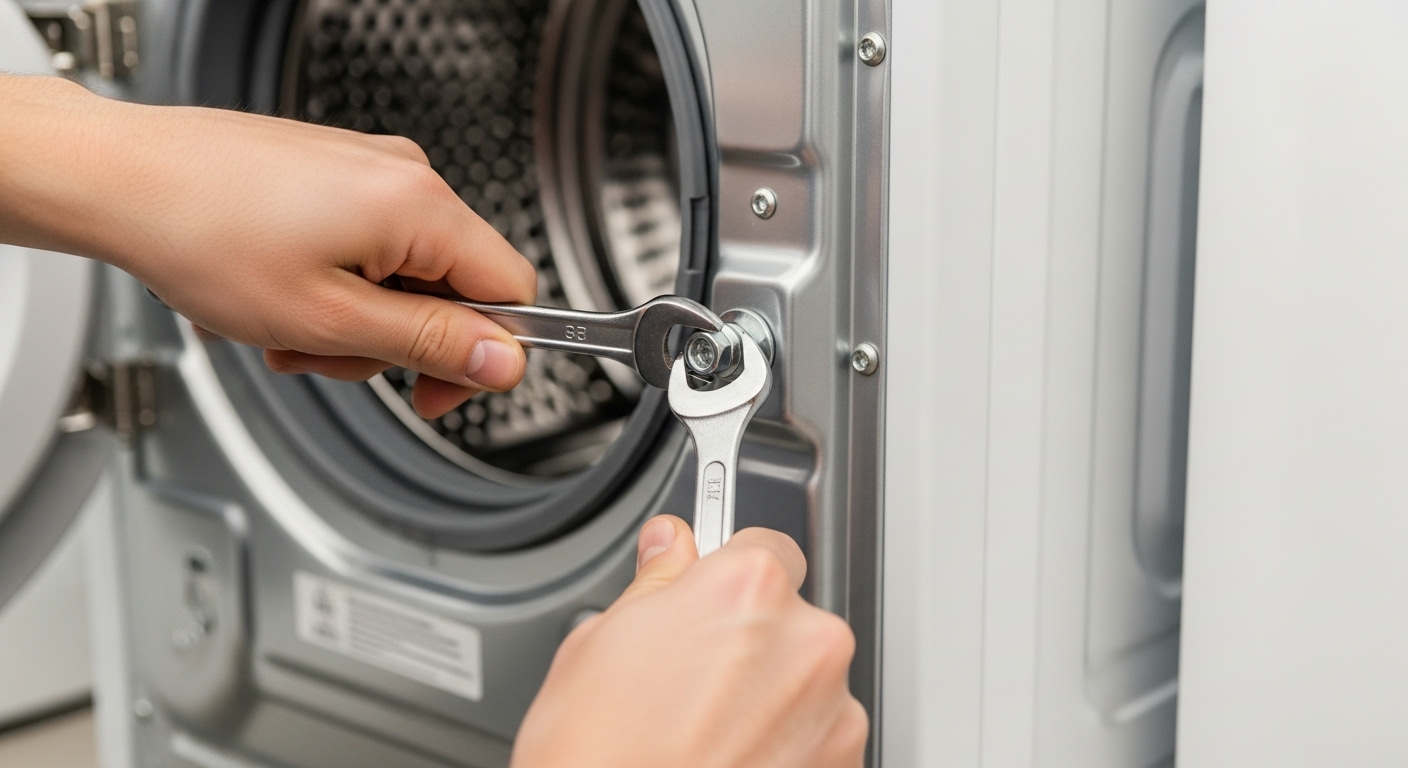
Pre-operation inspection and preparation must happen within the first two hours of delivery. The absolute first priority is removing all shipping materials immediately. For washing machines, the first thing you have to do is remove the packing bolts (also known as transit bolts) that keep the drum from moving during transportation. Failure to remove these bolts will cause violent shaking that can destroy internal components during the first use. Check for protective films on stainless steel surfaces, door handles, and control panels. Before initial use, all exposed metal surfaces should be given a coat of good automotive polish to protect against moisture and fingerprints. Verify that installation clearances meet manufacturer specifications, as inadequate ventilation space can cause overheating during the break-in period.
Initial empty cycles during the first 24 hours are non-negotiable for most appliances. Refrigerators and freezers require special attention during this phase. If your Whirlpool refrigerator was recently installed, it is recommended that you allow 24 hours for the refrigerator to achieve full functionality, allowing time for correct internal temperature, properly chilled water, and first batches of ice production. If the unit was transported upright, wait at least two to three hours before plugging it in, but if transported on its side, turn it upright and let it stand for at least four hours before connecting power.
For ovens and ranges, the burn-in process is essential for eliminating manufacturing residues and achieving optimal performance. Set your oven to a bake cycle at 350°F and allow your oven to run for up to an hour, then after it has cooled, wipe down the interior cavity with a soft damp cloth. For faster break-in, set the oven to bake at 500 degrees for 30 minutes, then set the oven broiler on high for an additional 30 minutes. Always open windows and run ventilation during the burn-in process to handle the inevitable odors from manufacturing coatings.
Washing machines require a completely different approach to new appliance care instructions. Before washing clothes for the first time, you must run a complete cycle without clothes, pressing the temperature button repeatedly until 40°C is displayed and adding a small amount of detergent to the main wash compartment. This cleans the drum of manufacturing oils and debris. For dishwashers, an empty cycle with a dishwasher cleaner like Affresh is recommended to flush out any stagnant water or residues from factory testing. Always consult the user manual for specific initial cycle recommendations, as procedures can vary significantly between brands like Bosch, Miele, and KitchenAid.
The 30-Day Observation Window: What Chiliwack Homeowners Must Monitor

After the initial 72 hours, the next four weeks are about observation and gradual integration into your daily routine. During this break in period appliances phase, you should pay close attention to sounds, smells, and performance, keeping a simple log of any unusual behavior. This is particularly important for Chilliwack homeowners due to our unique Fraser Valley climate.
The high humidity and salt air in the Fraser Valley can accelerate corrosion and affect electronic components differently than in drier inland climates. During the break-in period, monitor for any signs of condensation on control panels or around seals, as this could indicate an issue exacerbated by local conditions. Pay close attention to temperature regulation in refrigerators and freezers. Our region experiences significant temperature swings, and your new appliance’s thermostat and compressor are working hard to calibrate to these fluctuations. Consistent monitoring during the first 30 days allows the machine to “learn” the thermal demands of your home environment.
Throughout this period, follow a “light to heavy” usage protocol. For the first week, run your dishwasher with partial loads and your washing machine with smaller batches of laundry. This allows mechanical parts like pumps and motors to settle in without being subjected to maximum stress immediately. By the third week, you can gradually increase to full capacity loads. Listen for the evolution of sounds. New refrigerators will click and hum as the compressor cycles and the refrigerant settles. A washing machine’s motor might have a distinct “new” sound that mellows over the first 10-15 cycles. These are normal break-in noises. However, loud bangs, grinding, or high-pitched squeals are red flags that require immediate attention.
Documenting your observations is crucial for warranty purposes. Note the date, time, and specific details of any anomaly. For example, “Day 5, 2:00 PM: Dishwasher made a buzzing sound for 30 seconds during the rinse cycle.” This detailed log provides valuable diagnostic information for a technician and strengthens your case if a warranty claim becomes necessary. Remember, patience is your greatest ally during the new appliance break in period. What might seem like a defect on day 4 could be a normal part of the calibration process that resolves by day 14.
Break-In Protocols for Specific Appliances: A Chilliwack Homeowner’s Checklist
Refrigerators & Freezers
- 24-Hour Cool Down: Do not add food for the first 24 hours to allow the system to reach and stabilize at its set temperature.
- Monitor Temperature: Use an appliance thermometer to verify temperatures in both the fridge (37-40°F) and freezer (0°F) sections.
- Ice Maker Flush: Discard the first three batches of ice to flush any impurities from the new water lines.
- Listen for Normal Noises: Expect clicking, gurgling, and humming sounds as the compressor, fans, and defrost cycle operate.
Ovens, Ranges, & Cooktops
- Initial Burn-In: Run an empty bake cycle at high heat (400-500°F) for 30-60 minutes to burn off manufacturing oils. Ventilate the kitchen well.
- Calibrate Temperature: After burn-in, check the oven’s temperature accuracy with an oven thermometer and adjust the calibration if needed (see manual for instructions).
- Cooktop Check: For electric cooktops, run each burner on high for 3-5 minutes to season them. For gas, ensure a steady, blue flame on all burners.
Dishwashers
- Empty Cleansing Cycle: Run a full, empty cycle on the hottest setting with a dishwasher cleaner or vinegar to flush the system.
- Check for Leaks: During the first few cycles, carefully inspect around the door and under the unit for any signs of water leakage.
- Use Rinse Aid: Fill the rinse aid dispenser from the first use to ensure proper drying performance as the machine calibrates.
Washing Machines & Dryers
- Remove Shipping Bolts (Washer): This is the most critical step. Failure to do so will cause severe damage on the first use.
- Empty “Tub Clean” Cycle (Washer): Run a hot water cycle with a small amount of detergent to clean the drum and hoses.
- Leveling is Key: Ensure both the washer and dryer are perfectly level to prevent vibration and noise, re-checking after the first few loads as the machine settles.
- Clean Lint Filter (Dryer): Check and clean the lint filter before and after the very first load, as some residual material from manufacturing may be present.
FAQs about the Appliance Break-In Period
Q: Is the new appliance break in period just a way for manufacturers to avoid warranty claims?
A: No, it’s a scientifically-backed process. Thermal cycling allows materials to expand and settle, electronic sensors require calibration cycles to learn your home’s environment, and manufacturing residues must be burned off. Following break-in procedures actually helps prevent issues that would lead to warranty claims.
Q: What’s the single most important step for a new washing machine?
A: Absolutely remove the shipping bolts before the first use. These bolts hold the drum rigid during transport. If you run a cycle with them still in place, the violent shaking can permanently damage the suspension, drum, and frame, often voiding the warranty.
Q: Do small appliances like microwaves or toasters need a break-in period?
A: Generally, no. The break-in period is most critical for large appliances with complex mechanical systems, heating elements, and compressors (like refrigerators, ovens, and washing machines). For a microwave, simply wiping down the interior is usually sufficient.
Q: I followed the break-in instructions, but my appliance is still making strange noises after a week. What should I do?
A: While some settling noises are normal during the first 30 days, persistent loud or unusual sounds after the first week warrant a service call. Document the specific noise and when it occurs. It’s better to have a professional check it under warranty than to let a potential problem escalate.
Wrapping Up: Protecting Your Investment with Patience and Proper Care
The 30-day new appliance break in period is not an inconvenience—it’s your first and best opportunity to ensure your machine’s longevity and performance. By understanding the science behind component settling and calibration, you can move from anxiety to confidence. For Chiliwack homeowners, taking these extra steps—from removing shipping bolts and running initial burn-in cycles to monitoring performance in our unique climate—is the difference between a frustrating appliance experience and a decade-and-a-half of reliable service. You’ve made a significant investment; taking the time for a proper break-in is the final, crucial step in protecting it.